A cart is a temporary holding place for records you're interested in finding during this session. That means that once you log out of the OPAC or close the browser you lose the items in your cart. A list is a more permanent location for saving items. To learn more about lists, check the Lists in the Staff Client chapter of this manual.
Patrons can manage their own private lists by visiting the 'my lists' section of their account.
Lists can also be created by choosing the 'New List' option in the 'Add to' menu on the search results
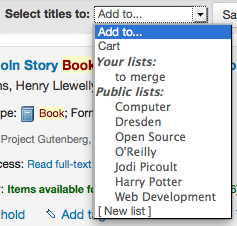
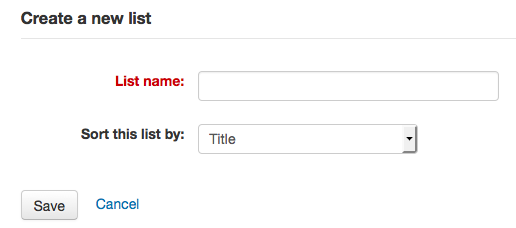
To create a list the patron simply needs to click the 'New List' link and populate the form that appears
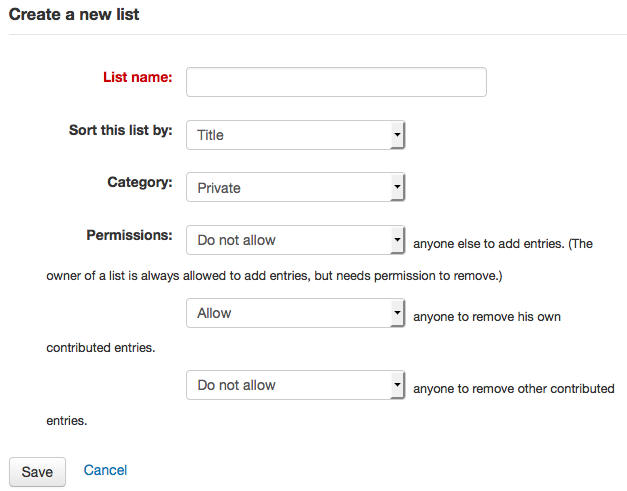
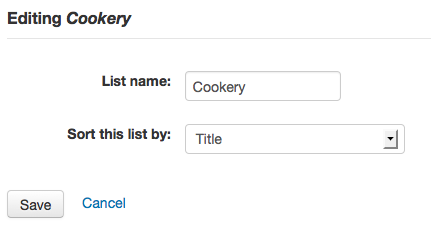
The only field required is the 'List Name,' but the patron can also choose how they want the list sorted and if the list is public or private.
-
A Private List is managed by you and can be seen only by you (depending on your permissions settings below)
-
A Public List can be seen by everybody, but managed only by you (depending on your permissions settings below)
Important
If you aren't allowing patrons to create public lists with the OpacAllowPublicListCreation preference then patrons will only be able to create private lists.
-
Finally decide what your permissions will be on the list. You can all or disallow:
-
anyone else to add entries
-
anyone to remove his own contributed entries
-
Note
The owner of a list is always allowed to add entries, but needs permission to remove.
-
-
anyone to remove other contributed entries
-
Titles can be added to lists from the search results and/or from the bibliographic record. On the search results options to add items to the list appear below each result and across the top of the results page
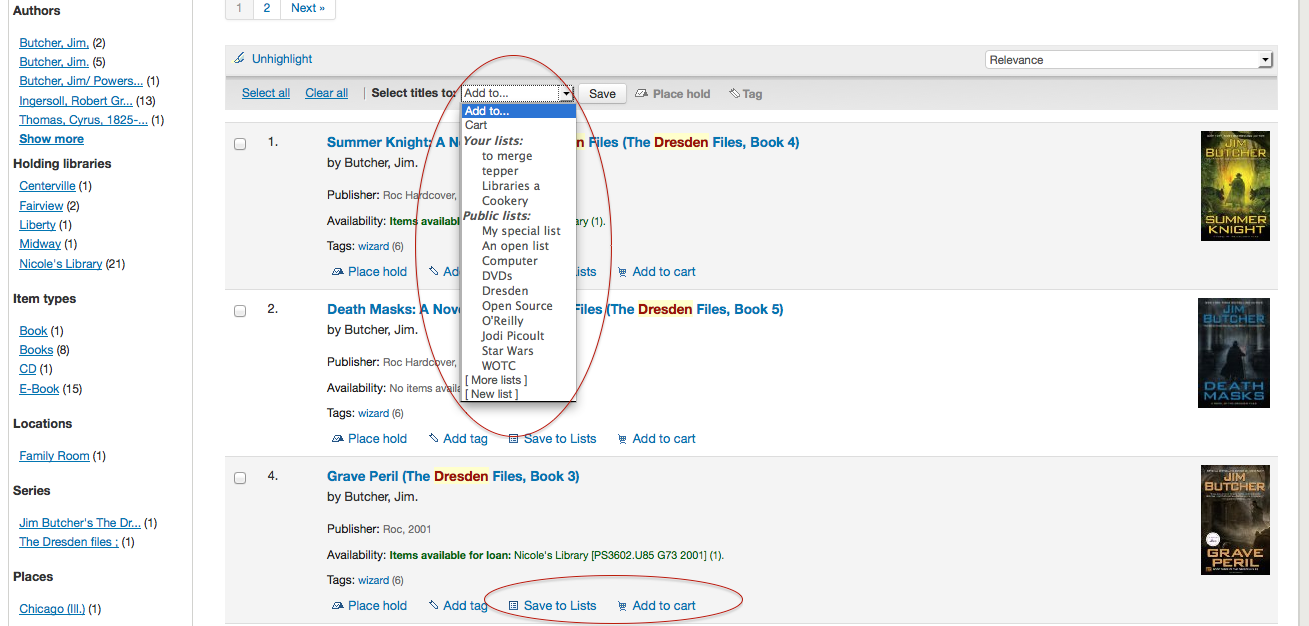
To add a single title to a list, click the 'Save to Lists' option and then choose the list you'd like to add the title to. To add multiple titles to a list check the boxes on the left of the titles you want to add and then choose the list you want to add the titles to from the 'Add too' pull down at the top of the screen.
To view the contents of a list, click on the list name under the Lists button.

The contents of the list will look similar to your search results pages except that there will be different menu options across the top of the list.
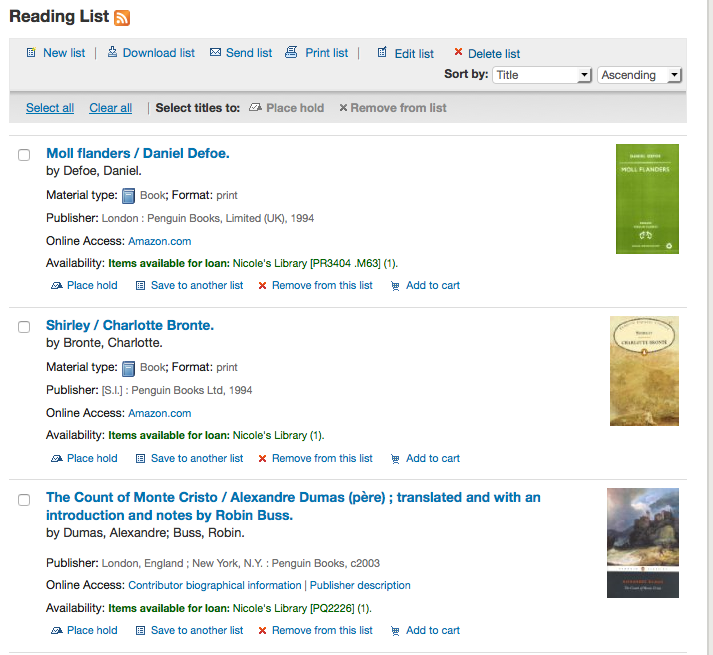
To the right of the list title there is an RSS icon that will allow you to subscribe to updates to the list.
Using the menu options above the list you can place multiple items on hold, download the list contents, email the list or print the list out.
-
To place a hold on one or more list items check the box to the left of the item and click the 'Place Hold' link at the top
-
To download the list contents click the 'Download List' link and choose the format you'd like to download the list in
-
To email the list contents to someone, click the 'Send List' link and enter in your email details in the form that pops up (view a sample Lists email)

-
To print the contents of your list out click the 'Print List' link
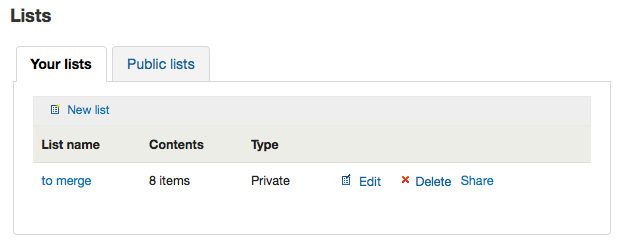
Once the list is saved patrons can begin adding items to it. From the 'my lists' tab on the patron record the patron can edit and delete the lists they have created by clicking the appropriate link to the right of the list name.
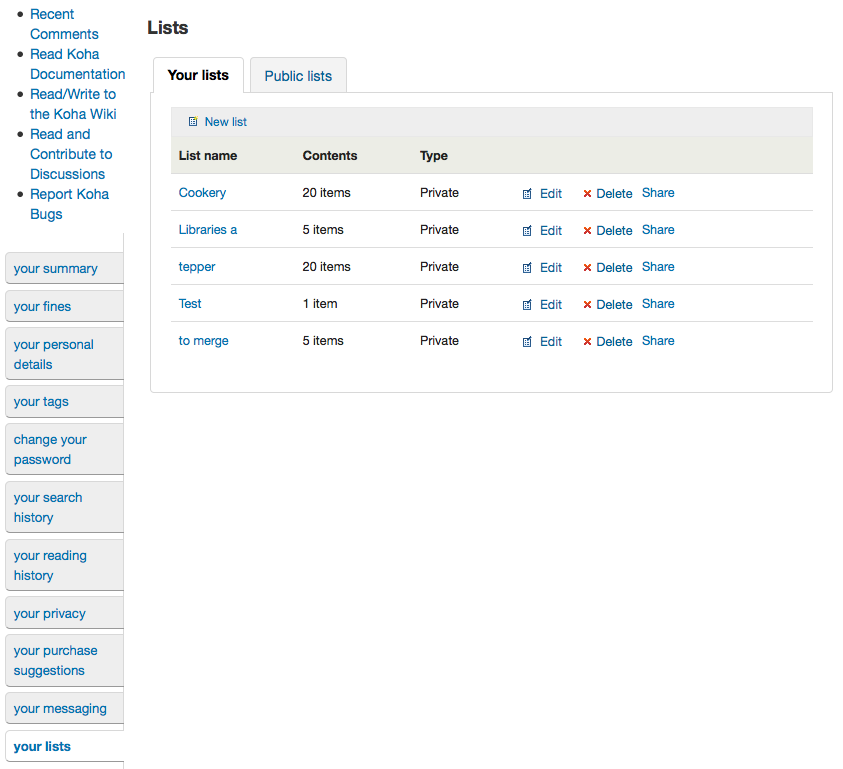
To edit the list's title or sorting patrons click the 'Edit' link to the right of the list description.
When clicking 'Delete' next to a list you will be asked to confirm that you want to delete the list.
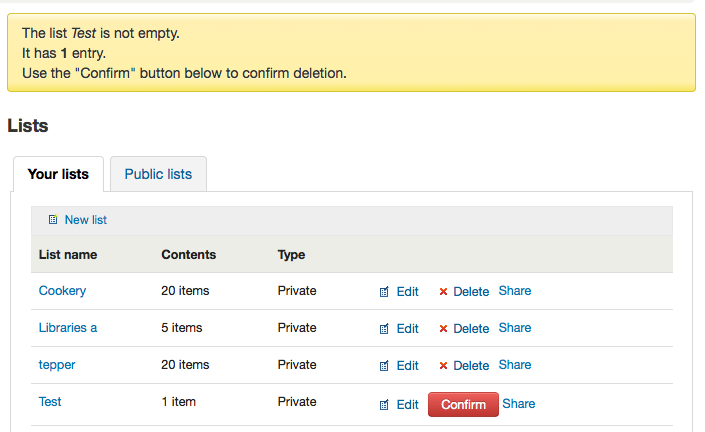
The list will not be deleted until the 'Confirm' button is clicked to the right of the list you'd like to delete.
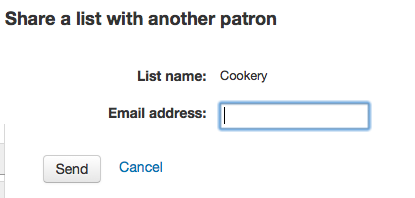
If the library is allowing you to share private lists with the OpacAllowSharingPrivateLists preference then you will see the 'Share' link on your list of lists and the 'Share list' link at the top of each individual list. Clicking this will ask you to enter the email address of a patron.
Once the email address is entered Koha will present you with a confirmation message

and will send a message to that patron.
Titles can be added to the cart from the search results and/or from the bibliographic record. On the search results options to add items to the cart appear below each result and across the top of the results page
Clicking the 'Add to Cart' button will add the one title to your cart. To add multiple titles at once, check the box to the left of each result and then choose 'Cart' from the 'Add to' pull down at the top of the screen. Once titles are added to the cart you will be presented with a confirmation
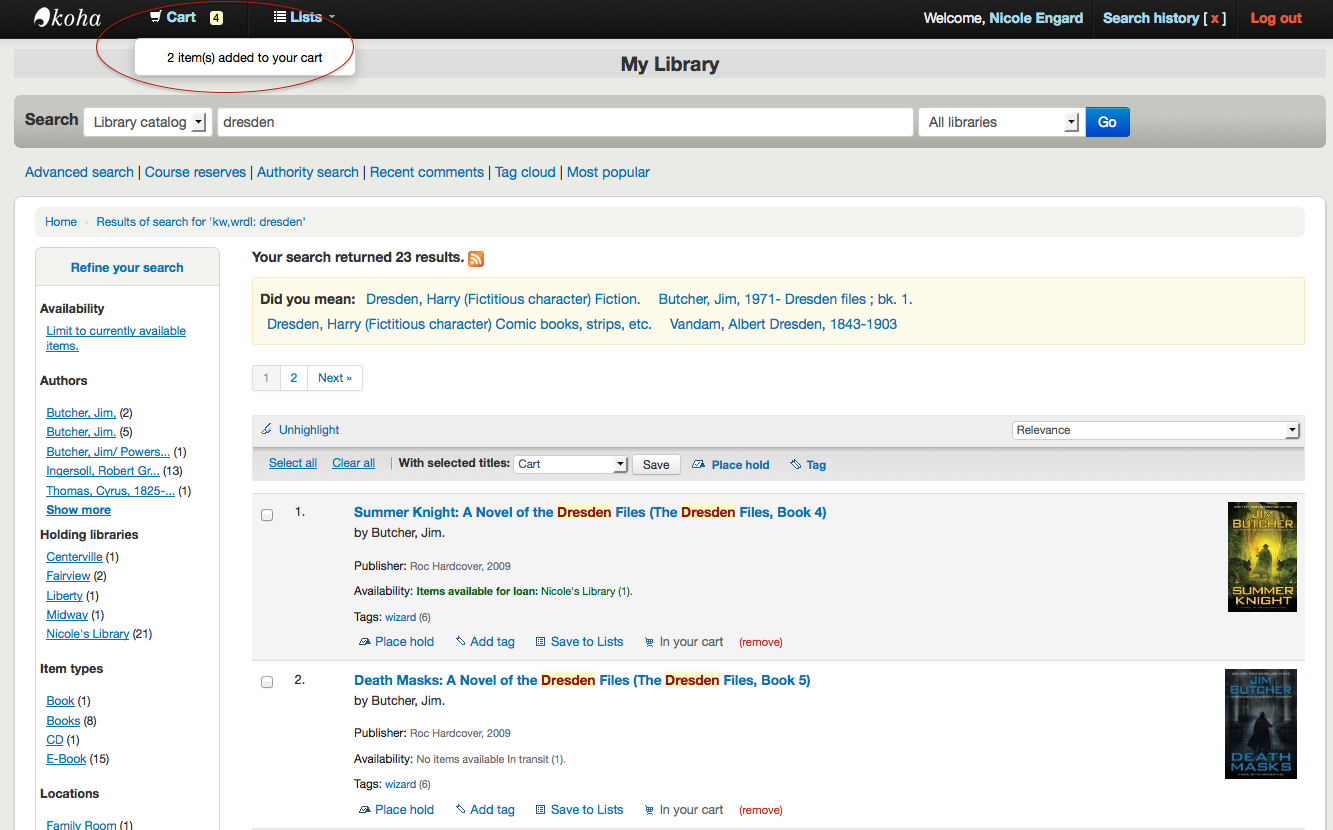
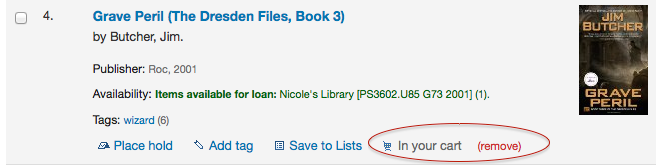
From the results you will see which items are in your cart and will be able to remove those items by clicking '(remove)'.
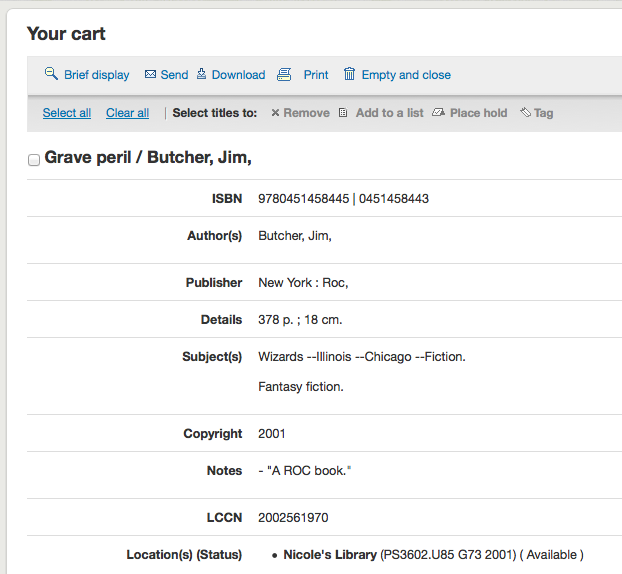
Once you have titles in your cart you can manage the contents by clicking on the 'Cart' button usually found at the top of the screen. Your cart will open in a new window.

From this window you are presented with several options. Across the top of the cart are several buttons.
First is the 'More details' button. Clicking this will show you additional information about the titles in your cart (ISBNs, Subjects, Publisher Info, Notes and more).
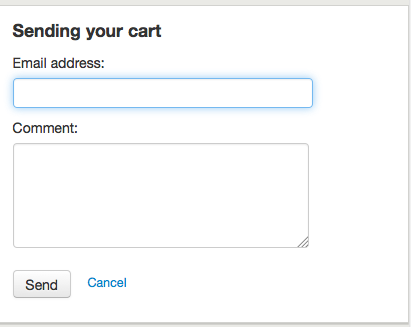
Next is the option to send the contents of your cart to an email address. This is handy if you want to send the resources you found at the library to your home email account to refer to later or to send to a patron researching a specific topic. Clicking this link will open up a new window that asks for the email address and message to send. View a sample Cart email.
Important
The cart can only be emailed by logged in users. This will prevent your cart email function from being used for spamming.
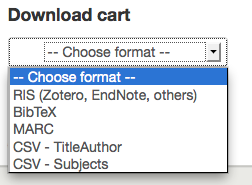
In addition to sending your cart you can download the contents of your cart in several pre-defined formats or using a CSV Profile that you defined in the Tools module.
Finally you can print out the contents of your cart by choosing the 'Print' link.
In addition to the various different ways to save the contents of your cart, there are ways to add value to the data in your cart. By selecting one or more titles from the cart you can add them to a list (click 'Add to a List'), place hold(s) (click 'Place hold'), or tag them (click 'Tag'). All of these operations follow the same procedure as they do when performing them in the OPAC.