Point of sale
Point of sale is a module designed for selling items to people who are not registered at the library or to make sales that do not need to be linked to a patron account.
For example, you can sell used books or promotional items. These items can be sold to anyone and you don’t need to link the sale to a particular patron.
For invoices that need to be linked to a patron’s account (like a lost item or new card fee), use manual invoicing.
Get there: More > Point of sale
Setup
To enable the point of sale module, you must turn on the EnablePointOfSale system preference.
If it’s not already done, you must also enable the UseCashRegisters system preference.
Make sure you configure your cash registers in the administration module.
Finally, you must add items that you will be selling in the debit types section of the administration module.
Making a sale
When you first go in the point of sale module, the left side will show all the items for sale. These are debit types that were marked as ‘Can be sold’.
Note
You can customize the columns of this table in the ‘Table settings’ section of the Administration module (table id: invoices).
On the right side is the current sale.
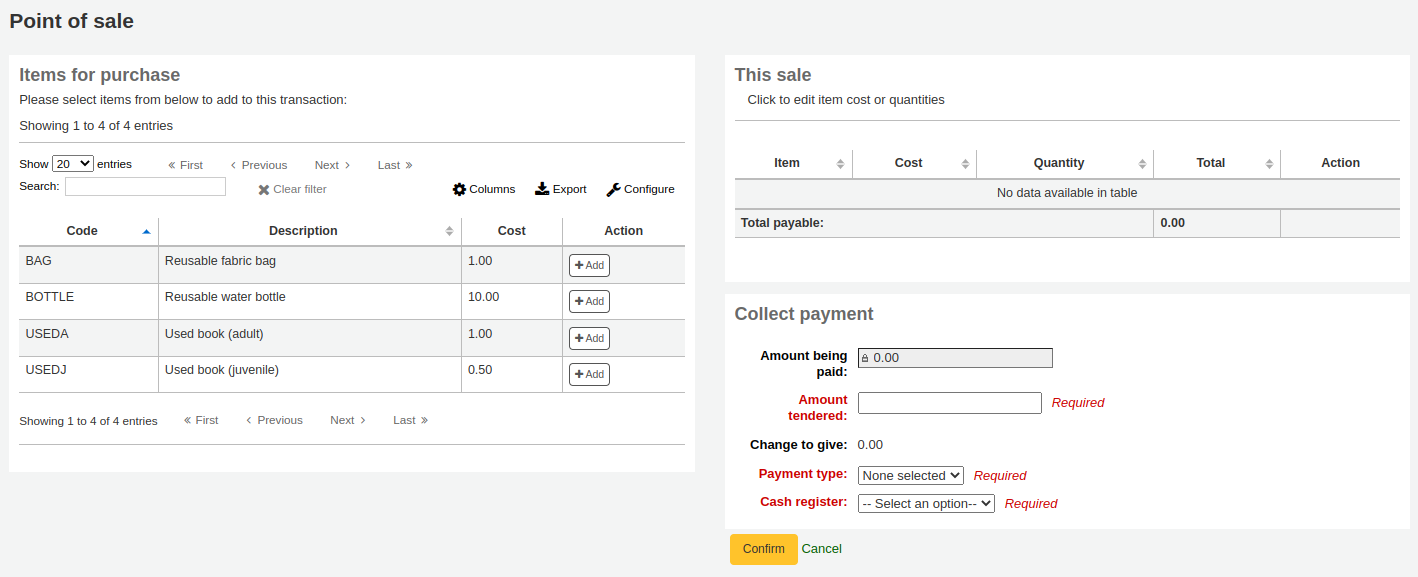
Click on the ‘Add’ button next to the items to add to the current sale.
If you need to change the cost or the quantity, click on the amount on the right side and it will become an input box where you can enter the correct amount.
Once all the items have been added, quantities and prices adjusted if needed, fill out the ‘Collect payment’ form.
Amount being paid: this is the total, it cannot be edited since it’s not attached to a patron file, it cannot be partially paid.
Amount tendered: enter the actual amount handed to you by the patron. The amount tendered must be equal or greater than ‘Amoung being paid’.
Change to give: if the amount tendered is greater than the amoung being paid, Koha will calculate how much change should be returned to the patron.
Payment type: choose the type of payment.
Note
The values are managed in the PAYMENT_TYPE authorized value.
Cash register: choose the cash register in which to enter the transaction.
Click ‘Confirm’ to finalize the sale.
If change was to be given back to the patron, a pop-up window will appear to remind you, click ‘Yes’ to confirm that you gave back the correct amount and confirm the payment.

You will have the choice to print or email the receipt for the sale.

Note
The receipts can be customized in the Notices and slips tool. The letter code is RECEIPT.