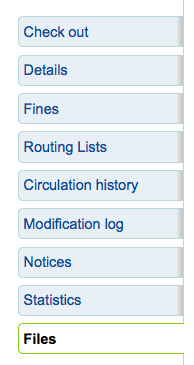
When viewing a patron record you have the option to view information from one of many tabs found on the left hand side of the record.
-
Get there: Patrons > Browse or search for patron > Click patron name
For instruction on checking items out, view the Checking Out section of this manual.
Staff members can access their own check out screen by clicking their username in the top right of the staff client and choosing 'My checkouts'
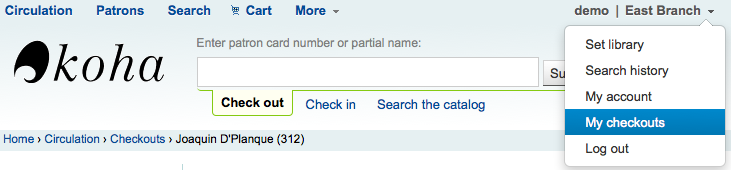
Staff members can access their own account details by clicking their username in the top right of the staff client and choosing 'My account'

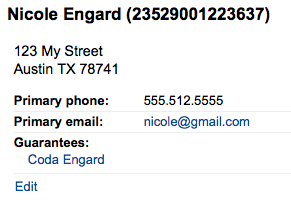
All patron information will appear on the Details tab. This includes all the contact information, notes, custom patron attributes, messaging preferences, etc entered when adding the patron.
In the case of patrons who are marked as 'Child' or 'Professional' and their Guarantors additional information will appear on their record.
-
A child patron will list their Guarantor

-
On the Guarantor's record, all children and/or professionals will be listed
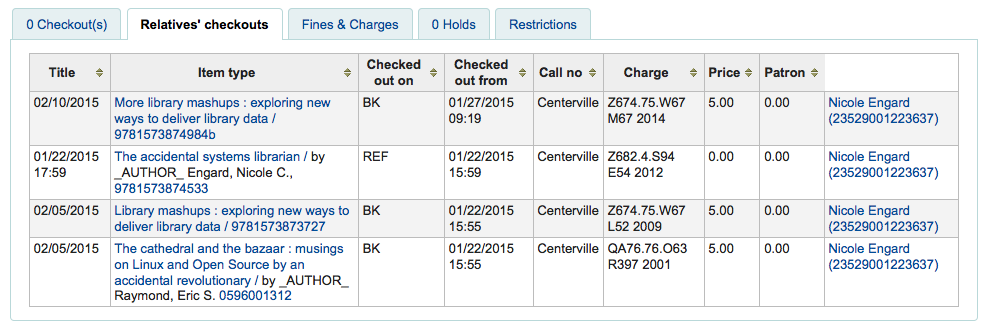
Below the patron's information on the details screen is a tabbed display of the items they have checked out, overdue, and on hold.
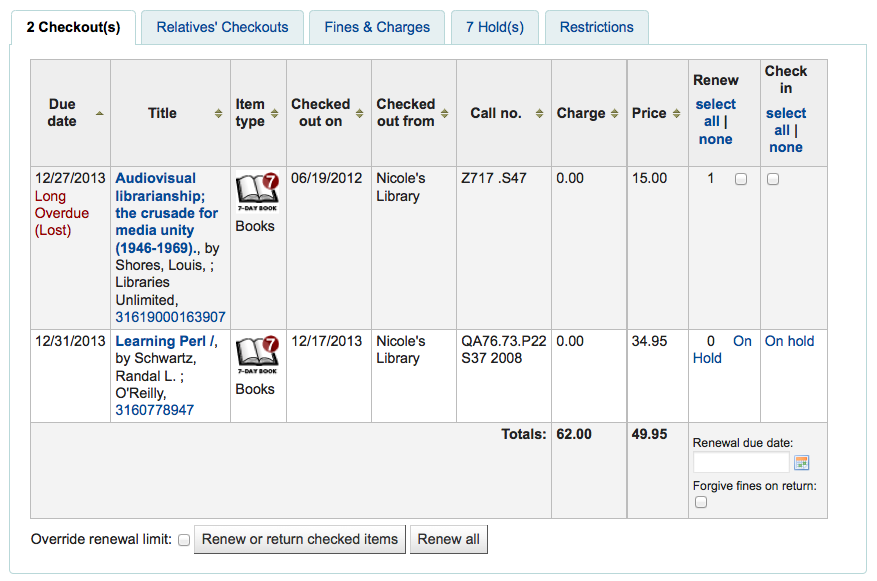
If they have family at the library staff can see what the other family members have checked out.
The Restrictions tab will show for all patrons. If the patron has no restrictions you will see that on the tab.

If the patron has restrictions on their account the tab will show the number and the description.

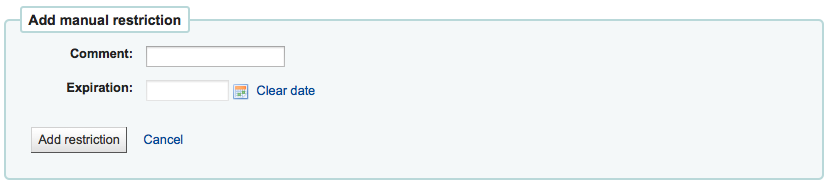
Using the 'Add manual restriction' button you can add a restriction to the patron record from here.
The patron's complete accounting history will appear on the Fines tab. Contrary to its name, the Fines tab does not just show fine data, it also shows membership fees, rental fees, reserve fees and any other charge you may have for patrons.
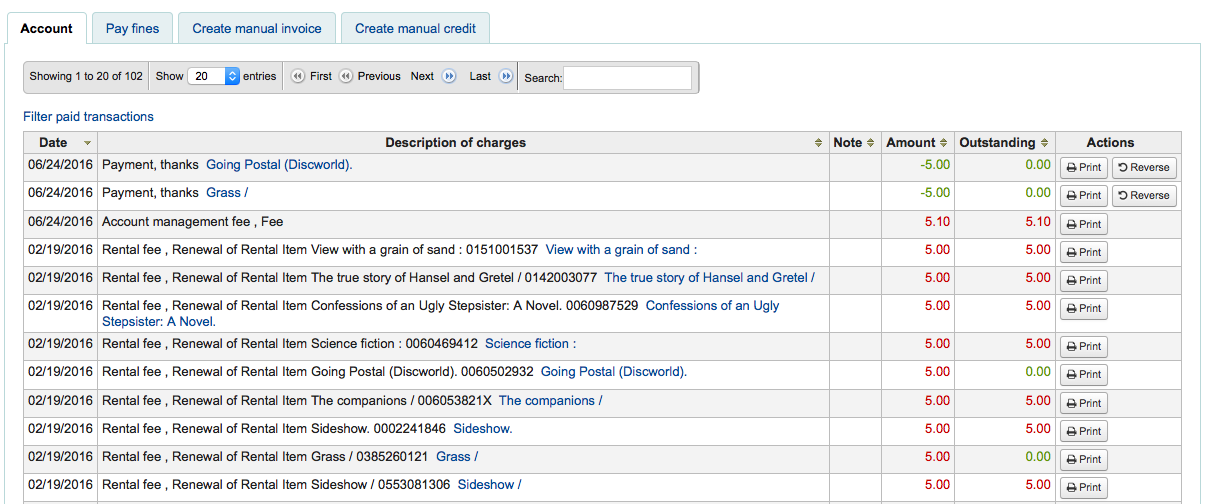
The table will show you the following columns:
-
Date: the date the charge/payment was posted
-
In the case of fines this will be the last day that the fine was accrued
-
-
Description: a description of the charges including the due date for overdue items and a link to the item record where one is available
-
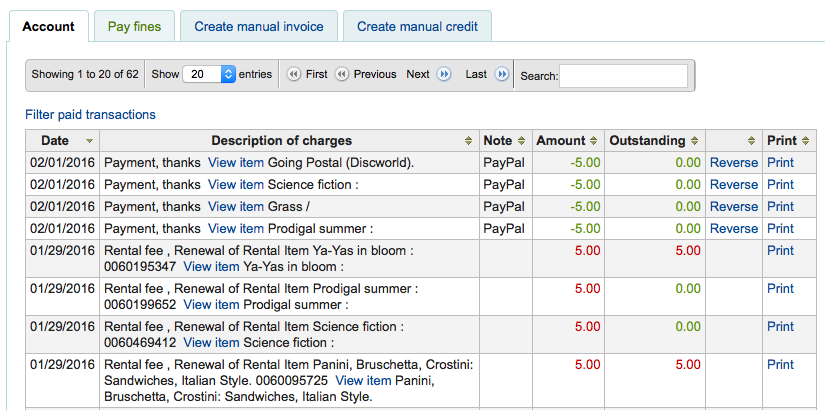
Note: any notes about this charge/payment
-
If you're allowing patrons to pay fines via the OPAC with PayPal (EnablePayPalOpacPayments) you will see a Note that says 'PayPal' for items paid this way
-
-
Amount: the total amount of the payment or charge
-
Outstanding: the amount still due on charge
-
The ability to reverse a payment
-
A link to print a receipt for that line item
At the top of the table you can click the 'Filter paid transaction' to hide all completed transaction and above that you can use the search box to find a specific charge or payment.
Most fees and fines will be charged automatically if the fines cron job is running:
-
Fines will be charged based on your Circulation & Fines Rules
-
Hold fees will be charged based on the rules you set in the Patron Types & Categories administration area
-
Rental fees will be charged based on the settings in your Item Types administration area
-
Marking an item 'Lost' via the cataloging module will automatically charge the patron the replacement cost for that item
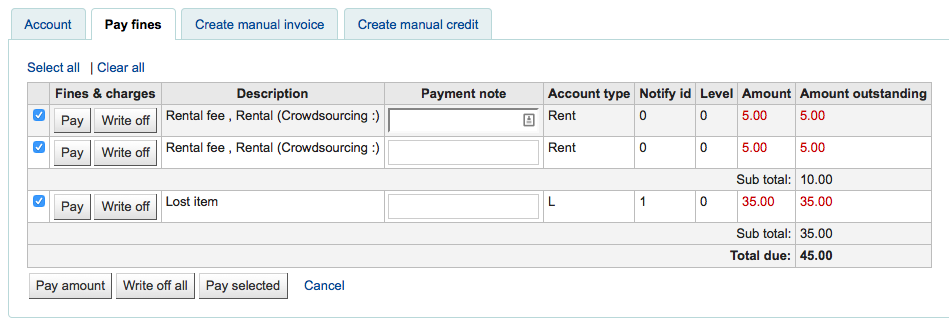
Each line item can be paid in full (or written off) using the 'Pay Fines' tab.
-
Each line item can be paid in full, partially paid, or written off.
-
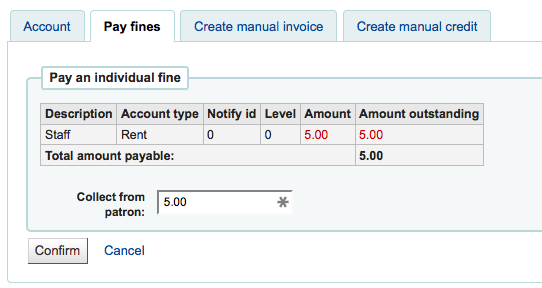
Pay a fine in full
-
If you have a note about the payment please type that first then move on
-
Click "Pay" next to the fine you want to pay in full
-
The full amount of the fine will be populated for you in the "Collect From Patron" box
-
Click "Confirm"
-
The fine will be removed from outstanding fines, and displayed as fully paid.
-
-
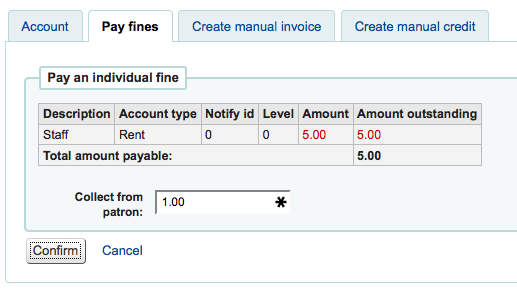
Pay a partial fine
-
Click "Pay" next to the fine you want to partially pay
-
Enter the amount you are collecting from the patron in the "Collect From Patron" box
-
Click "Confirm"
-
The fine will be updated to show the original Amount, and the current Amount Outstanding
-
-
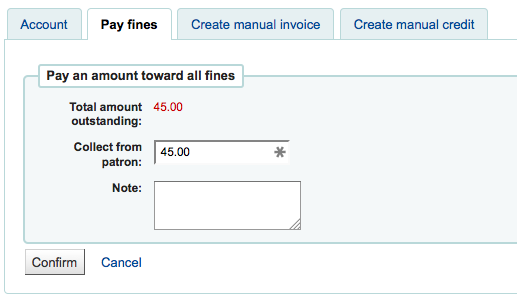
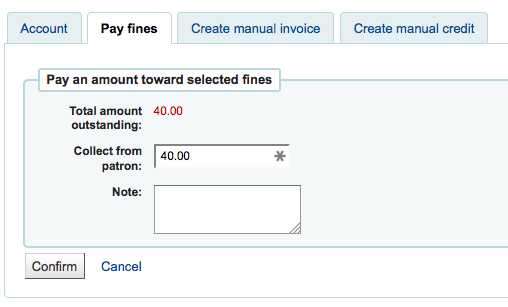
Pay an amount towards all fines
-
Click the "Pay Amount" button
-
Enter the amount you are collecting from the patron in "Collect from Patron." The sum of all fines is shown in "Total Amount Outstanding"
-
Click "Confirm"
-
The fine totals will be updated with the payment applied to oldest fines first.
-
-
Pay Selected fines
-
Check the selection boxes next to the fines you wish to pay, click "Pay Selected"

-
Enter an amount to pay towards the fines.
-
Click "Confirm"
-
The fine totals will be updated with the payment applied to the oldest selected fines first.
-
-
Writeoff a single fine
-
Click "Writeoff" next to the fine you wish to writeoff.
-
The fine will be removed from outstanding fines, and displayed as written off.
-
-
Writeoff All fines
-
Click the "Writeoff All" button
-
All fines will be removed from outstanding fines, and displayed as written off.
-
-
If you accidentally mark and item as paid, you can reverse that line item by clicking 'Reverse' to the right of the line

-
Once clicked a new line item will be added to the account, showing the payment as reversed

-
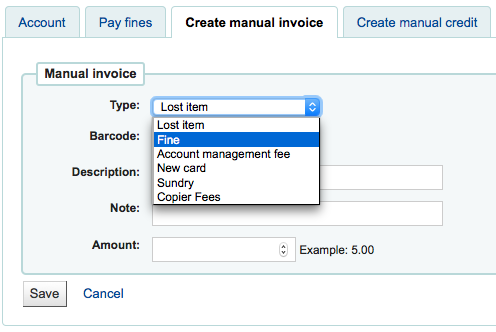
For fees that are not automatically charged, librarians can create a manual invoice
-
First choose the type of invoice you would like to create
-
To add additional values to the manual invoice type pull down menu, add them to the MANUAL_INV Authorized Value
-
Important
The value set as the Authorized Value for the MANUAL_INV authorized value category will appear as the Description and the Authorized Value Description will be used as the amount.
-
-
If the fee is associated with an item you can enter its barcode so that the line item shows a link to that item
-
The description field is where you will enter the description of the charge
-
In the amount field, do not enter currency symbols, only numbers and decimals
Manual credits can be used to pay off parts of fines, or to forgive a fine amount.

-
First choose the type of credit you'd like to apply
-
If this credit is associated with an item you can enter that item's barcode so that the line item links to the right item
-
The description field is where you will enter the description of the credit
-
In the amount field, do not enter currency symbols, only numbers and decimals
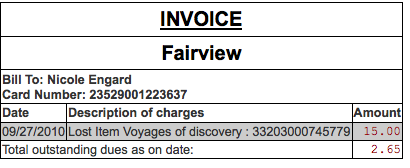
To the right of each account line there is a print link. Clicking that link will print an invoice for the line item that includes the date and description of the line item along with the total outstanding on the account.
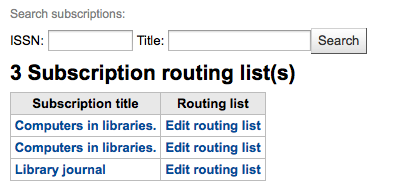
A list of all of the serial routing lists the patron belongs to will be accessible via the 'Routing Lists' tab on the patron record.
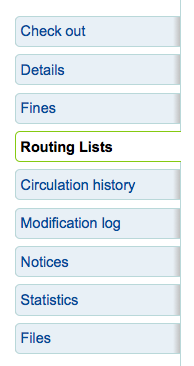
On this tab you will be able to see and edit all of the routing lists that this patron is on.
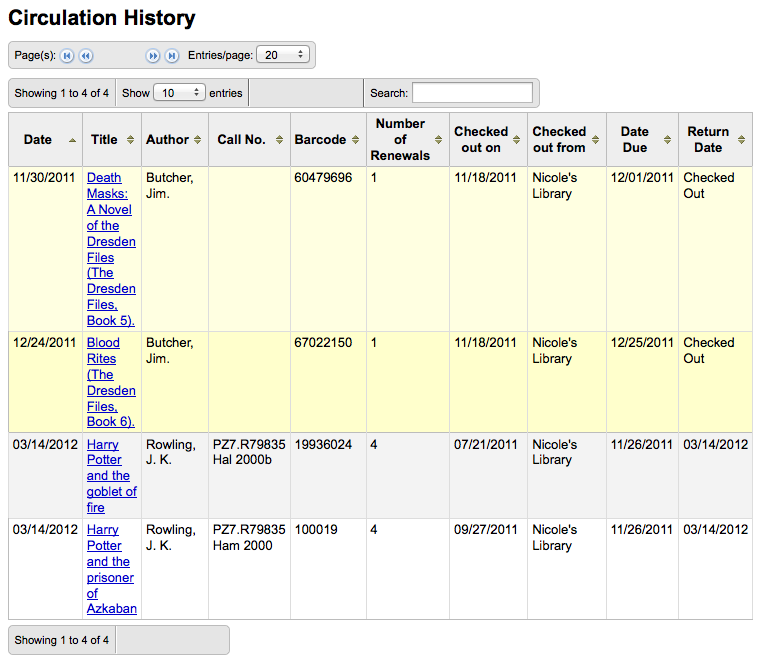
The circulation history tab will appear if you have set the intranetreadinghistory preference to allow it to appear. If you have the OPACPrivacy system preference set to 'Allow' and the patron has decided that the library cannot keep this information this tab will only show currently checked out items.
If you would like to export a list of barcodes for the items checked in today you can find that option under the More menu on the top right of the page.
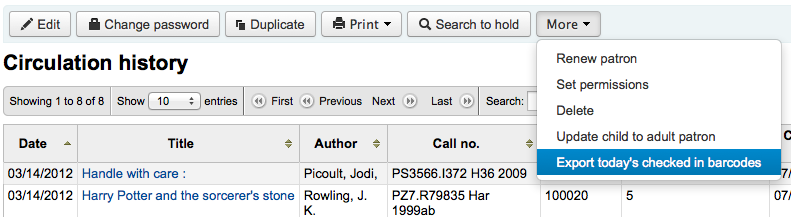
This will generate a text file with one barcode per line.
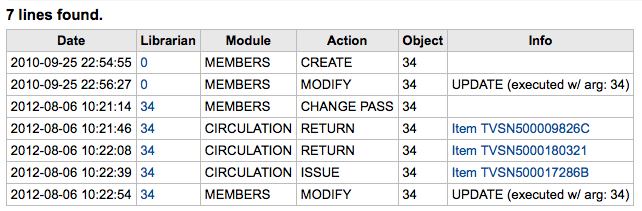
If you have set your BorrowersLog to track changes to patron records, then this tab will appear. The Modification Log will show when changes were made to the patron record. If you also have turned on the IssueLog and ReturnLog you will see checkins and outs on this screen as well.
-
The Librarian field shows the patron number for the librarian who made the changes
-
The module lists 'MEMBERS' for the patron module
-
The action will tell you what action was being logged
-
The Object field lists the borrowernumber that is being modified (in the example above, it was my changing my own record)
The patron's messaging preferences are set when adding or editing the patron. This tab will show the messages that have been sent and those that are queued to be sent:
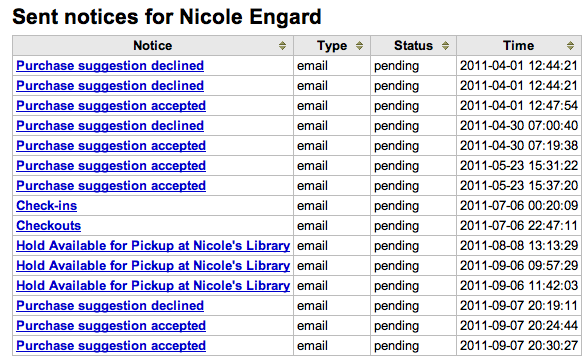
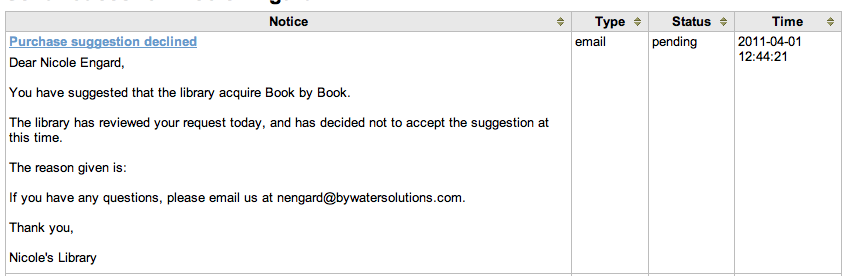
Clicking on the message title will expand the view to show you the full text of the message that was sent.
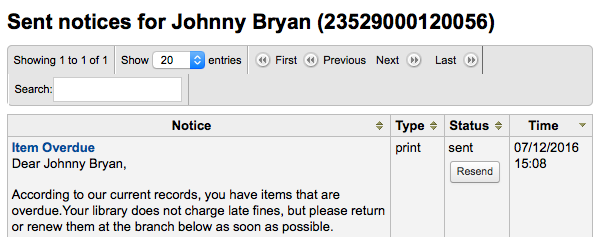
If the message has a status of sent or failed you will have the option to 'resend' the message to the patron by clicking the 'resentd button found under the status.
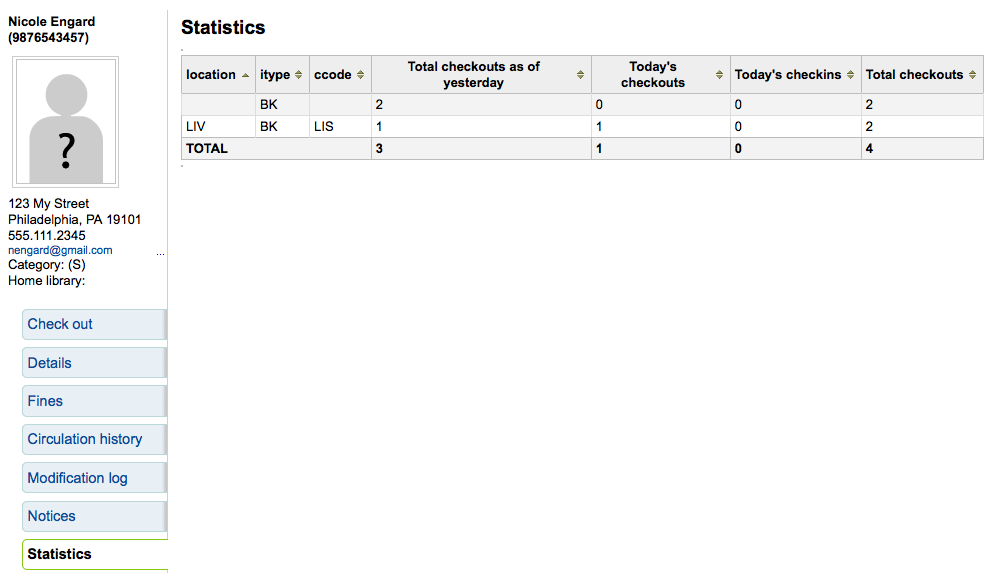
Depending on what you set for the values of your StatisticsFields system preference, you can see statistics for one patron's circulation actions.
If you set the EnableBorrowerFiles preference to 'Do' the Files tab will be visible on the patron information page.
From here you can upload files to attach to the patron record.
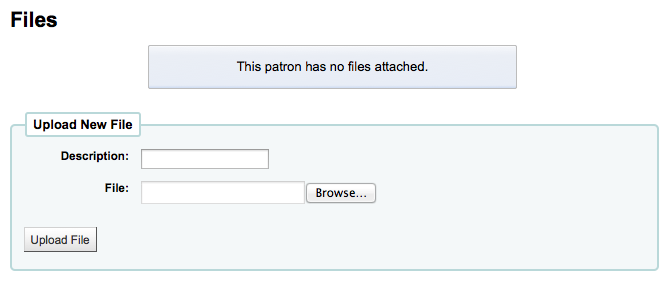
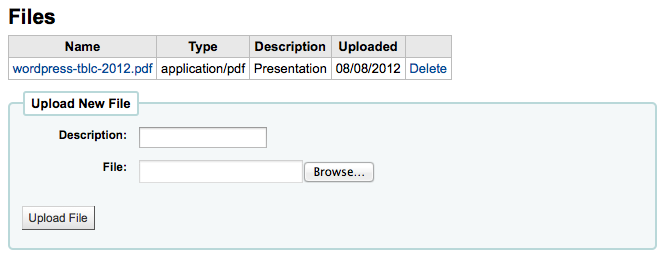
All files that are uploaded will appear above a form where additional files can be uploaded from.
If the patron has made any purchase suggestions you will see a purchase suggestions tab on the patron record.
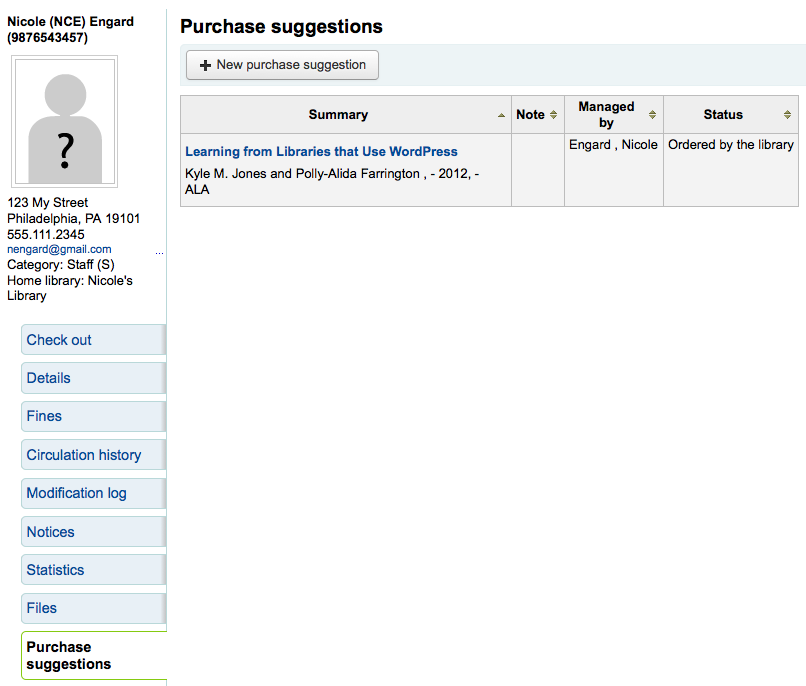
From here you can see all suggestions made by the patron and their status, you can also create a purchase suggestion on the patron's behalf by clicking the 'New purchase suggestion' button at the top.
Learn more about Purchase suggestions in the Acquisitions chapter of this manual.
A discharge is a certificate that says the patron has no current checkouts, no holds and owe no money. To enable this option on the patron record you need to set the useDischarge system preference to 'Allow'.
Note
In France a "quitus" ("discharge") is needed if you want to register for an account in a library or a university).
Note
Academic libraries often require that you have a clear record at the library before you can graduate.
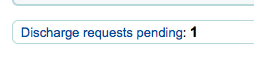
Patrons can request discharges via the OPAC. Any pending discharges will be listed below the menu buttons on the main staff client page
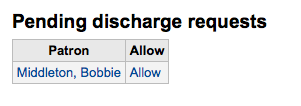
Clicking the pending requests will open a screen where you can allow those discharges
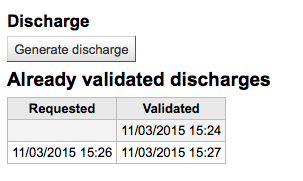
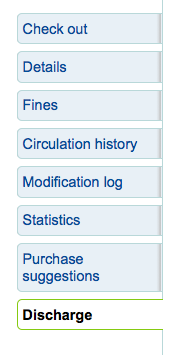
To generate a discharge for a specific patron click the 'Discharge' tab on the left of the patron record
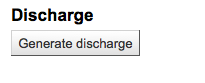
If the patron can have a discharge generated then it will have a button that says 'Generate discharge'
If not then you'll see an error explaining why you can't discharge the patron.
Once the letter is generated you will have a PDF to download

Note
You can style the PDF using the NoticeCSS preference.
The patron will have a restriction added to their account

And a history of discharges will be added to the 'Discharge' tab